 Google+ is social networking platform developed by Google that ties directly into many of Google’s products. Anyone with an account on Google can create a profile and a business page on Google+. The great thing about Google+ is that because it’s a Google product, it works symbiotically with their search engine to match the right customers to the right businesses!
You may already have a Google+ profile for your personal use, but for your business you will need a dedicated page, which is created using an existing Google account. Google requires you to have a personal Google+ profile to act as the owner of a business page, so it is recommended to use your personal Gmail account, though the email address you set up for your business can also be used (if you don’t have a business email yet and would like to set one up, click here for more information).
Why Google+? According to Google’s getting started guide,
“For businesses, Google+ helps you attract new customers and build deeper relationships with current ones, by making it easier to connect to the more than a billion people who search on Google every day and by making all the marketing you do with Google
even better.”
So let’s get started! This process takes about fifteen minutes and you will need: An existing Google+ profile or a Gmail account to create one.
To begin, navigate to https://plus.google.com and log in with your Gmail address and password. If you already have a Google+ profile, this will take you to your home dashboard, or if you do not have a profile, it will ask you to create one. The handy thing about Google+ is that it will automatically fill in a lot of the information needed for the profile right from your Gmail account!
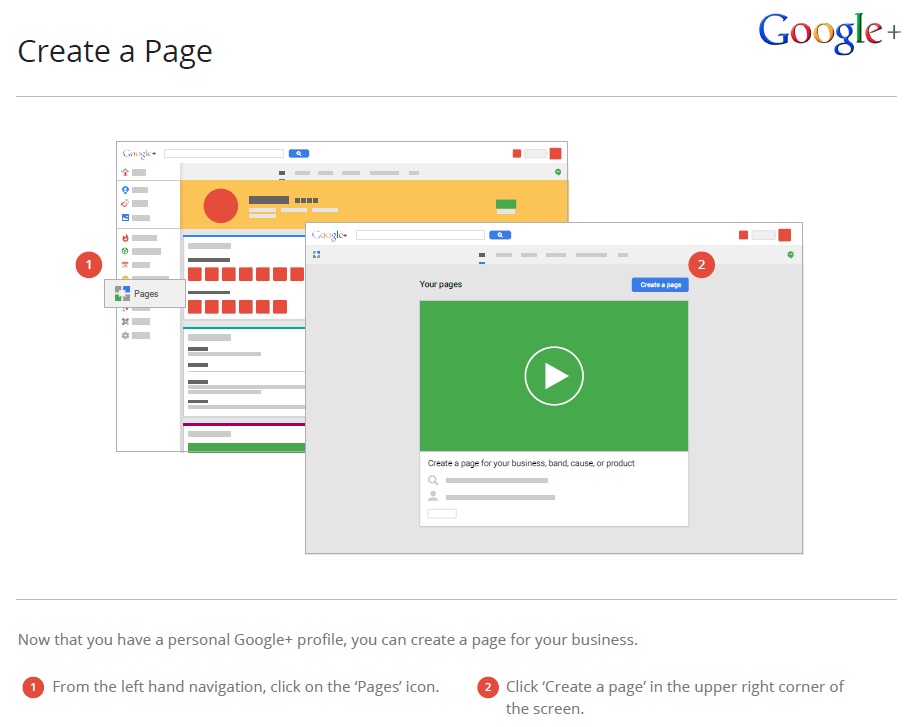
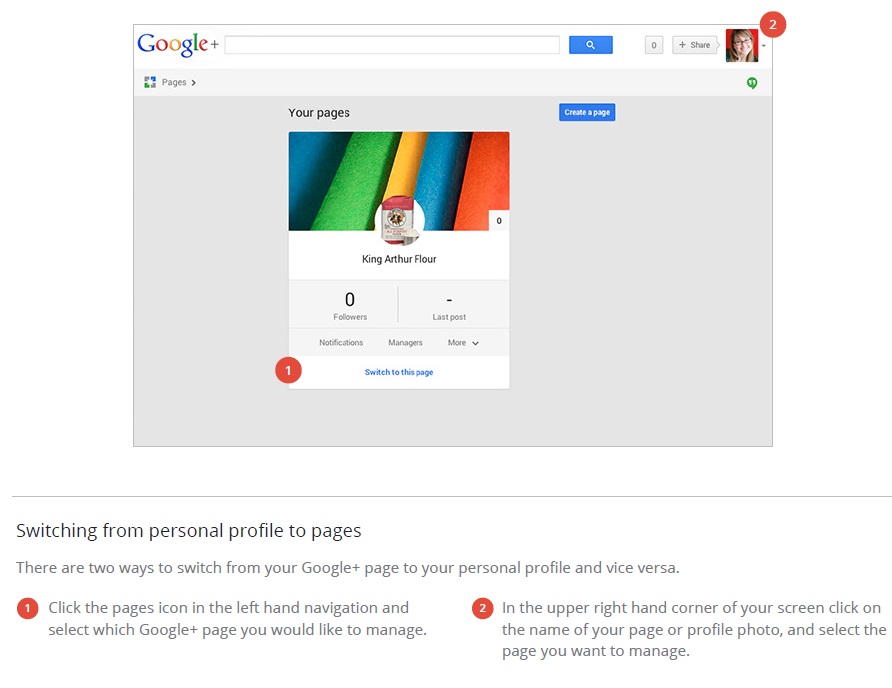
Once you’re logged in to your Google+ profile, on the left hand side of the top bar there will be a home icon with a drop-down arrow. Hover over this to open the left-hand navigation and select “Pages” from this menu (see #1). This will open up the area to manage your pages in the future and will have a button at the top right to create a page (see #2)
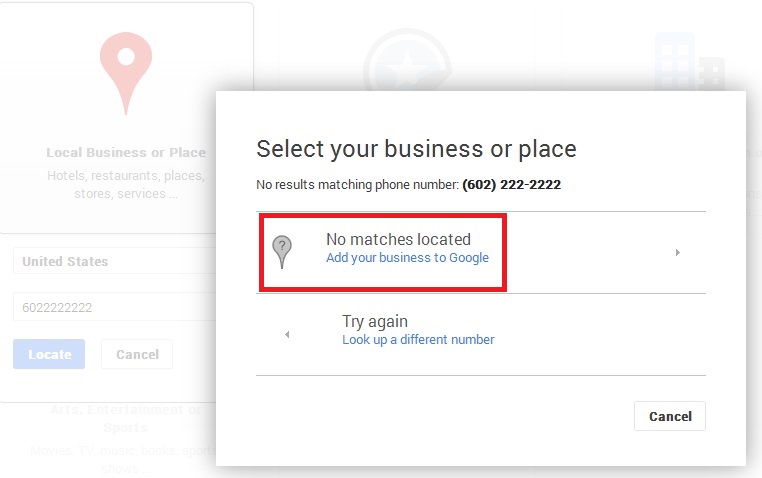
The Create a Page area will then ask you to pick a category for your business. More than likely, you’ll be under “Local Business or Place” but you may also find “Product or Brand” or “Other” befitting as well. It will ask you to put in the phone number of your business to try and locate it. If it’s able to find it, great! Review the information to make sure it’s correct and continue on. Otherwise, select “Add your business to Google” and put in the information for your business.
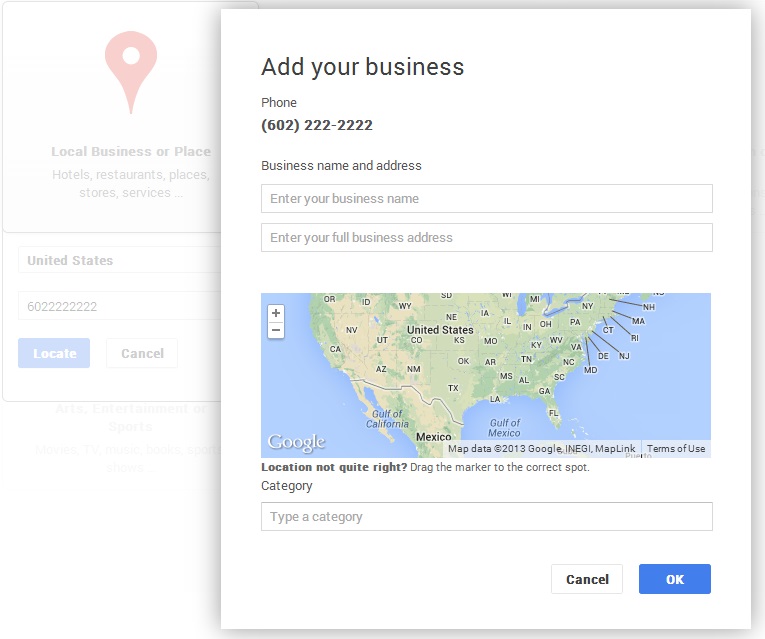
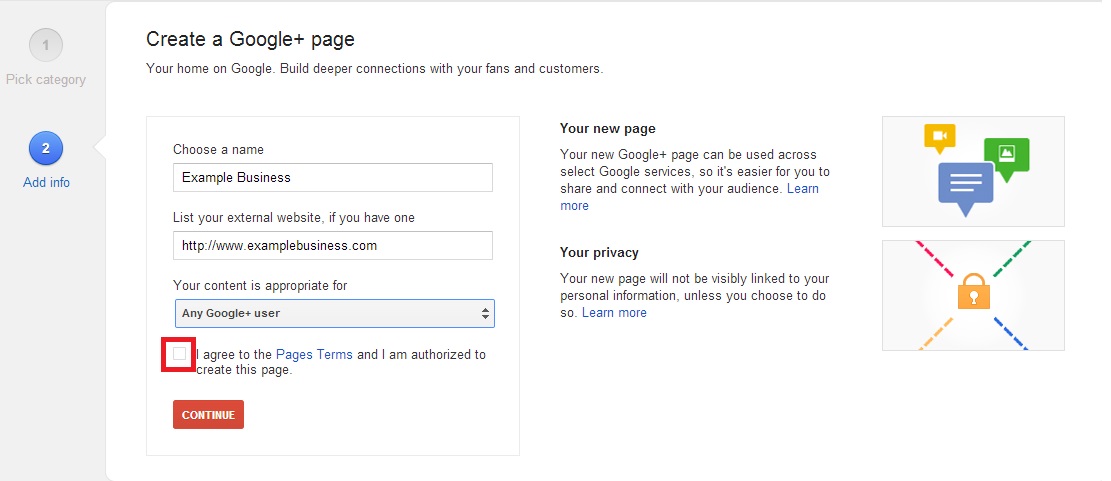
After filling in the business name and address, you will be taken to the Add Info section to put in the information for the Google+ page itself including the name of the page (usually the business name), a link to your external website if you have one (if you don’t and would like one, see our guides for more information), and who your content is appropriate for. Generally, the less you restrict your content level, the more people will see it!
Google will now congratulate you for taking the first steps towards getting your business promoted through them and will take you to the page management area where you can dd links, additional people to manage the page and begin to add content and gather followers.
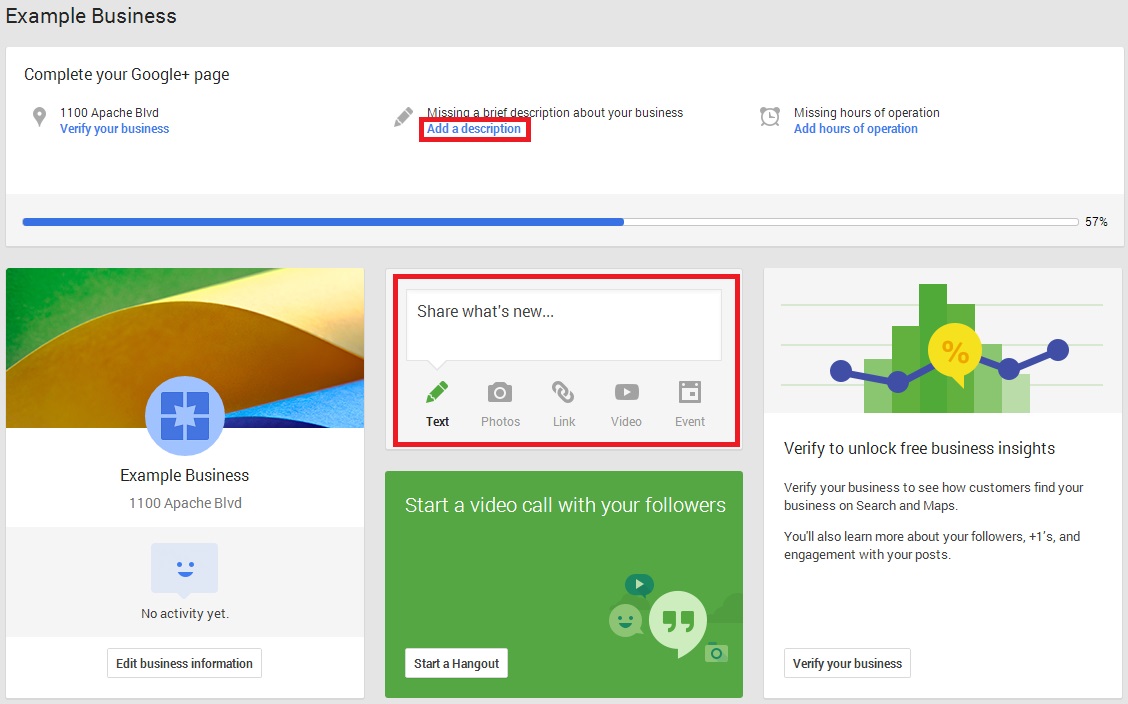
Once your page looks the way you want it to, you’ll be able to share content like photos, links, videos and events from this same dashboard!
You can also switch between your personal profile and your Google+ page pretty easily, thanks to Google’s integration.
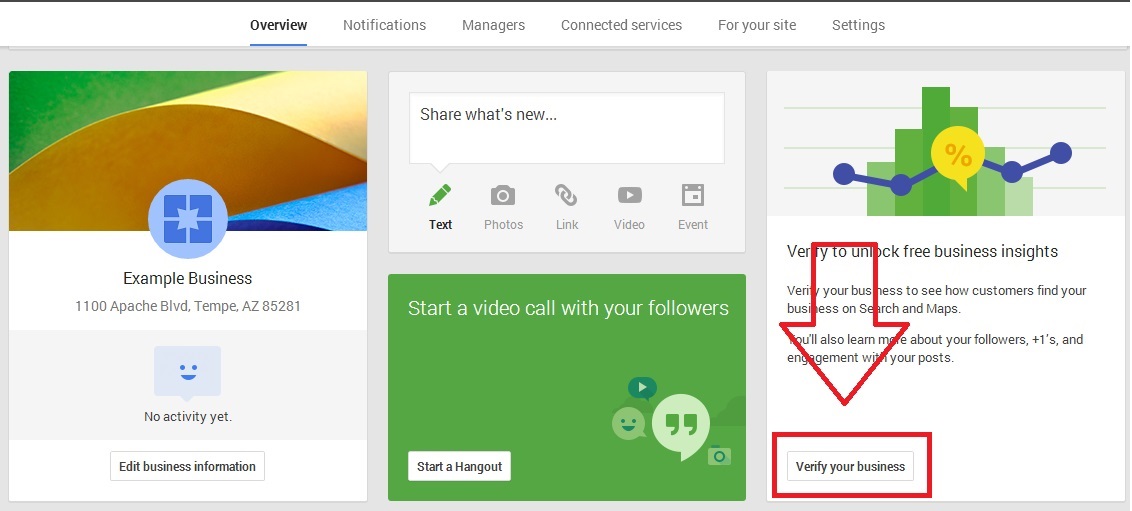
In order to take full advantage of everything Google+ pages has to offer and get listed, you’ll need to verify your business through Google. This allows you to be listed publicly on Google Maps and helps ensure legitimacy among business listings on Google. To verify your business, head to the dashboard of your page and click on “Verify your Business”
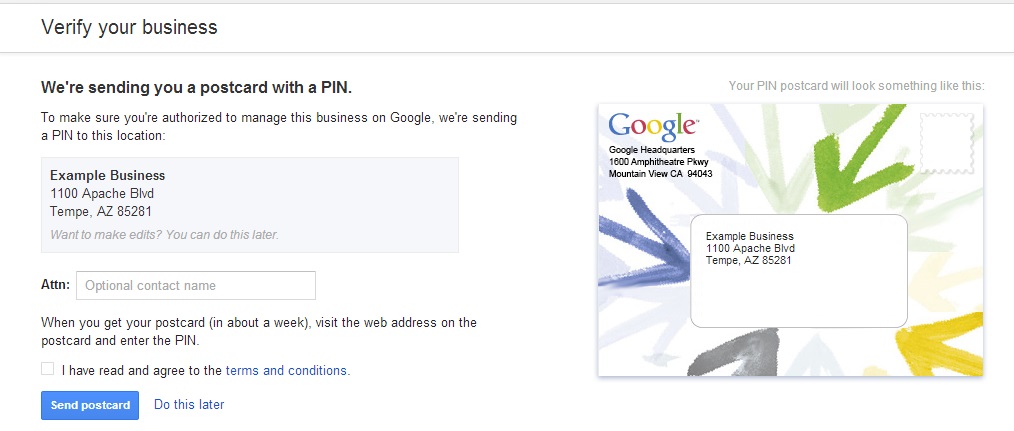
 and then “Send postcard”. Google will send you a postcard to the address you listed your business under with a code that you will need to enter on this page.
While waiting for your postcard, feel free to start inviting people to your page, interacting with your followers and building up your Google+ page!
For additional information not covered here, please check out Google+?s help section.
We make every attempt to ensure the accuracy of this information. If for any reason the information in this article in not correct, please contact OurSuccessCenter@swiha.edu with the article link and the information that needs to be updated.